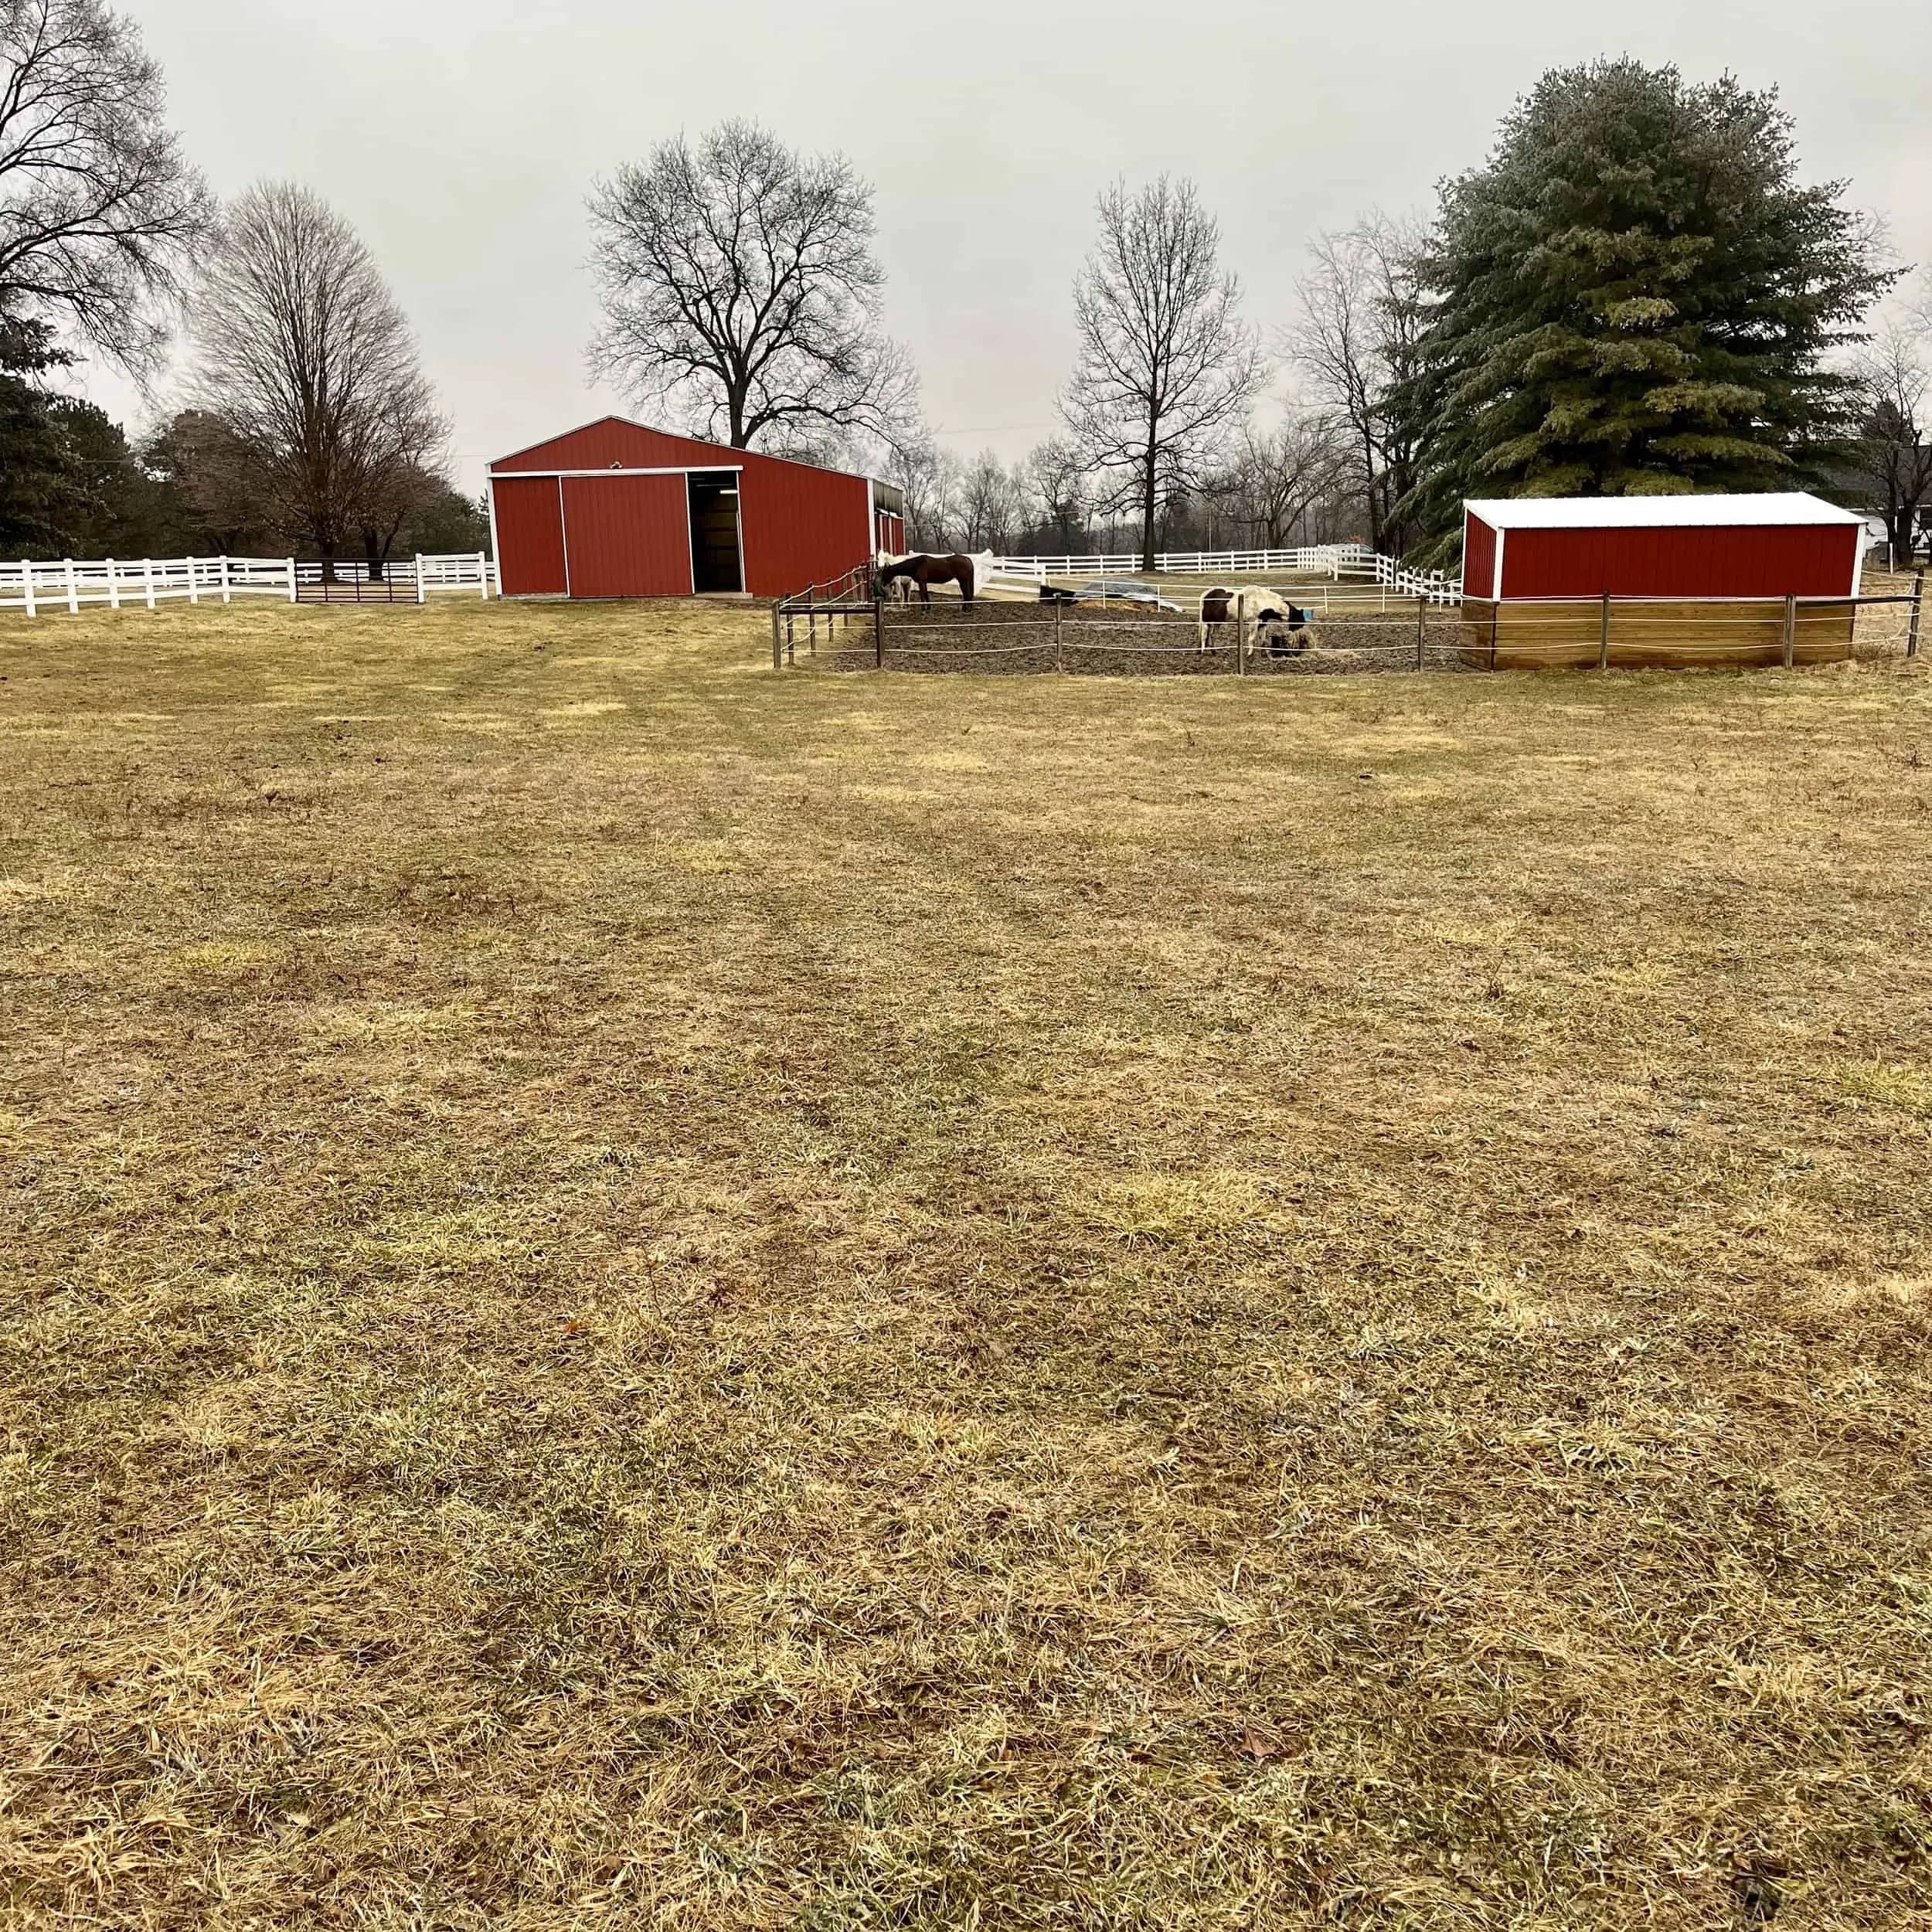
Four horses live on our farm. That means about 140lbs of manure are produced every day. In the summer the horses come in to stalls to be fed twice a day, and in the winter they are stalled all night. This adds dozens more pounds of stall waste per day, depending on the season.
There is also a winter sacrifice area or dry lot from which I clean up the manure every day in addition to cleaning stalls, and last summer I picked up manure from our 2 pastures twice a week.
The age-old question: what to do with all this waste?
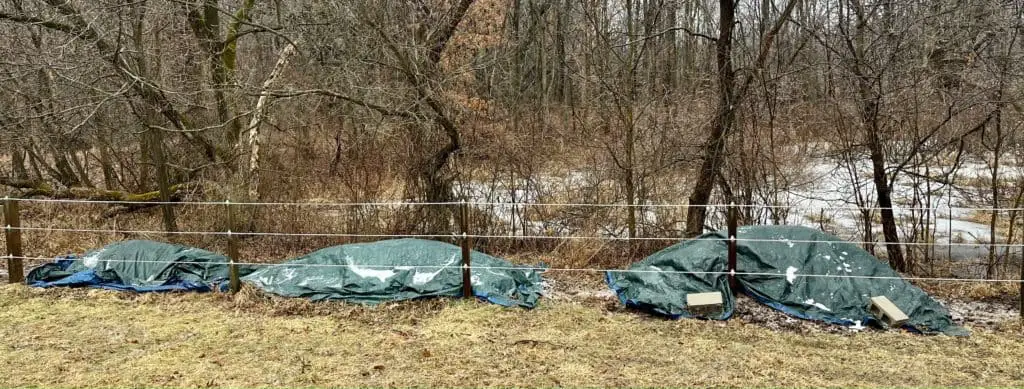
When I started my horse farm adventure last spring, I had grand plans to create compost piles and finish the season with the very richest black gold. My family and neighbors would be fighting for a bag of it. I planned to do this without really investing any money. I would just pile it on the ground, not build any structures to contain it, and just put a tarp over the pile to protect it from sun and rain. The plan was to collect each pile for two months, then start another pile, giving the first one time to compost and turning it by hand every so often with a pitchfork.
I wrote down my plan and made a spreadsheet with dates including when each pile was begun, when I planned to turn it, and when it should have finished composting. I was sure this protocol would create perfect compost by the end of the summer and I could spread it on my pastures as fertilizer and give it away to friends and neighbors to use in their gardens.
Composting Failure
This did not happen. My tarp-covered compost piles turned by hand and unmonitored for temperature were a dismal failure. In September, the pile I had begun in April looked pretty much the same as it had in May, with visible manure chunks and lots of intact shavings. Discouraged, I left it until spring. This past weekend I decided it was now or never, and got out the tractor to spread some of this oldest pile on a pasture, come what may.
When I uncovered the pile, I found it a nice dark brown color, but the texture was not much like crumbly compost. Instead, you could still see pieces of shavings. In spite of this I loaded some up and spread it on the pasture.
My husband had come out to help and he remarked “It feels like we just collected it to save, then put it right back on”. That’s pretty much what we ended up doing.
With a baby on the way, I’m looking for ways to make farm work easier and faster, and at the same time have actual success with managing my manure.

My initial compost piles covered with tarps
Small farm horse manure composting-Lessons Learned
- Have a permanent containment area for compost with sides and a kickboard at the back. This way the pile can be shaped in the optimal way to promote the composting process. Most states and townships have rules about placement of permanent manure collection areas, as well as rules about drainage. Be sure to check before beginning a construction project.
- Cover the pile. This is really the only one I did right on my first attempt. You don’t want the manure to get too wet in the rain or dry out in the sun.
- Water the pile when it needs it. If you take a handful of your manure while it is composting, it should feel like a damp (not wringing wet) sponge. My first piles were placed way at the back of the back pasture, there was no way for me to get them the water they needed, except by uncovering them when it rained (then remembering to cover them back up when the sun came out). Not ideal. Place your piles where you can reach them with a hose.
- Monitor the temperature. When the temperature inside the pile reaches 150-160 degrees F, the composting process is going well. When the temperature begins to drop, the organisms responsible for breakdown have used up all their oxygen and can’t do their job as well anymore. It’s time to turn the pile. The only way to know for sure what the temperature inside the pile is is to use a compost thermometer to track it.
- Turn the pile thoroughly. It’s imperative that all parts of the pile get oxygenated and that all parts reach high temperatures. I was never going to be able to achieve a thorough turning and fluffing by myself with a pitchfork. You really need equipment like a tractor with a bucket to get in there and turn the whole pile properly. This is another reason it’s helpful to have the containment structure with a back kickboard to push it up against.
- Have the right carbon:nitrogen ratio. The proper ratio is about 30:1 C to N. But you don’t really need to worry about the numbers. Just know if there’s too much wood in there (i.e. shavings) it won’t compost quickly and adding a source of nitrogen like grass clippings or urea or nitrogen fertilizer is a good idea.
Success is in the Future
I haven’t given up on composting for good. Now that I have thoroughly learned these lessons, I’ve picked a spot near my barn and dry lot to place a permanent manure composting system. I still can’t invest in any of the wonderful aerated systems that exist, and make composting a super-fast, hands-off breeze. But my system will have an impermeable base, back kickboard, and sides to separate 4 different bays. With 4 bays, each pile should have about 9 months to fully compost before it needs to be removed. In our south Michigan climate, that includes 6 full months of relatively cold winter weather, this is crucial. I’ll also be able to access it with the tractor to turn it properly.
Do you have a failure or success story about small farm horse manure composting? Share it in the comments! I’d love to hear how you’ve answered the age-old question: “what to do with all the manure?”
Like this article? Jump into these too!

